Customize Playnite with Themes and Add-ons
December 5, 2022 - Reading time: 6 minutes - Category: guides
I covered installing Playnite and adding your PC in the previous article. Now, we'll take a look at maximizing your experience with different themes and add-ons. First let's cover themes.
A theme is pretty simple. It's basically a skin you can use to customize the look and feel of Playnite. There are many skins available, some that mimic the look of other programs, some that just change the colors of Playnite, and others that completely change the look.
- Press F9 to open up the Add-ons menu and under Browse select Themes Desktop
- You can also install fullscreen themes and launch Playnite in fullscreen with F11, but I find the desktop version more useful
- Browse the themes and install any you find interesting. My favorite is the Helium theme, built to mimic the look of the Steam library.
- You may be prompted to restart the program.
- Press F4 to open the Settings menu and choose General under the Appearence tab
- Use the dropdown menu to select any theme you want
- Press Save and you'll be prompted to restart the program
- Your theme will be applied on restart

Now lets take a look at some of the most useful Add-ons. Two of the most useful Add-ons I use are SuccessStory and DuplicateHider. Ludusavi is another useful add-on, for backing up game saves, but I'll cover that one in its own article.
Go ahead and download those add-ons from the F9 Add-ons menu > Browse Tab > Generic option, and restart Playnite.
SuccessStory Configuration:
I enjoy collecting achievements in games, and nowadays many platforms support them. SuccessStory imports your achievements across all your platforms and libraries and displays them within your Playnite library. Let's get it configured.
- Open up the addons menu with F9, and under the Extensions Setting tab, choose Generic, then SuccessStory.
- Tick the boxes for all your supported platforms
- Note the box for RetroAchievements - I'll cover those later when we add ROMs. Leave it unchecked for now.
- In the Misc tab, make sure 'Automatically import data when library is updated' is checked.
- In the Appearence tab, make sure all of the boxes under "items available for the supported themes" are checked
- Achievement displays might vary depending on the theme you are using
- Press Save and restart Playnite if prompted
- Click the Gamepad icon, hover over Extensions > SuccessStory > Download plugin data. Choose the relevant option for you, I find it is best to just download for all your games.
- This will take a long time if you have a lot of games
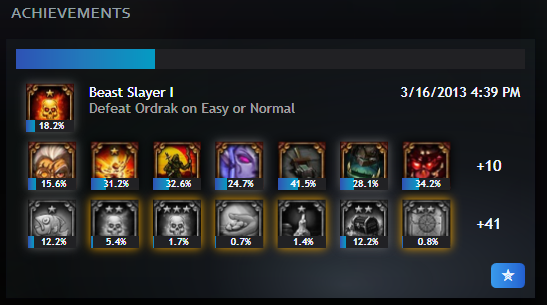
- When it's finished, click on a game in your library that has achievements and you'll see them listed somewhere (it will vary based on theme)

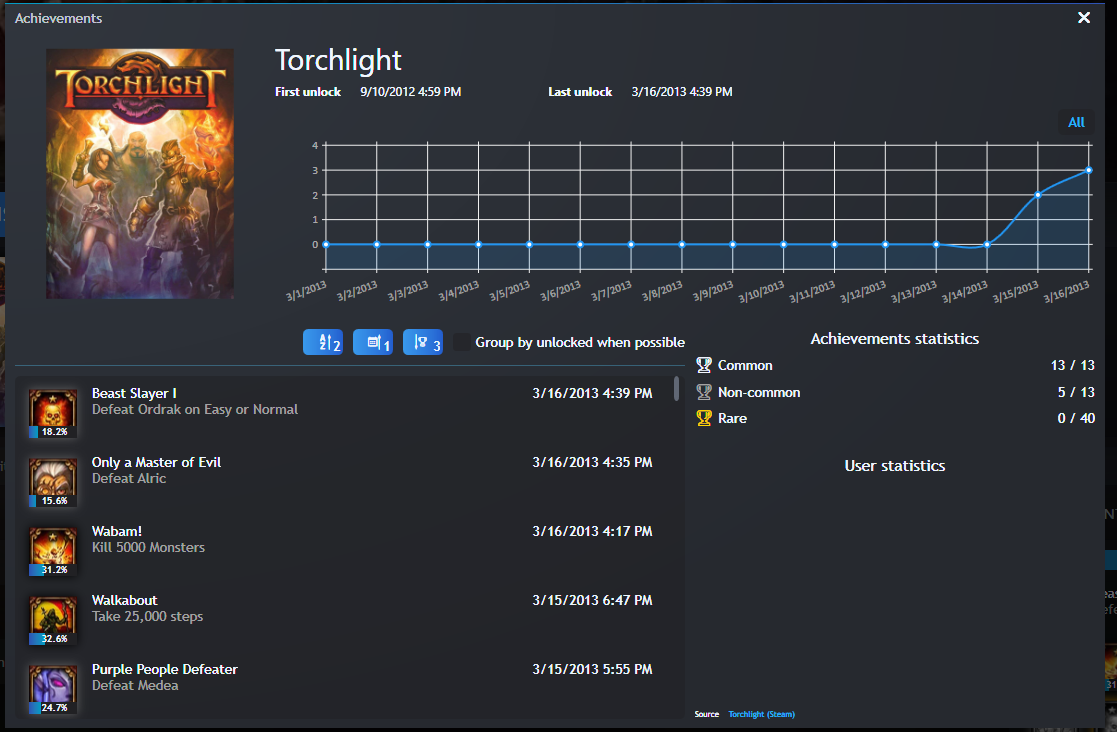
If you click the little star icon it will bring up a detailed view:

Now let's make your library a little more manageable with DuplicateHider.
DuplicateHider Configuration:
I own several games on multiple platforms. Depending on your display settings in Playnite, you'll see the same game listed multiple times, which can make it hard to tell which version you're playing along with not being very aesthetically pleasing. DuplicateHider solves this issue gracefully.
- Open up the Add-ons menu with F9 and navigate to Extensions Settings > Generic> DuplicateHider
- Use the arrows to change your preferred storefront, with your most preferred storefront at the top
- You can also use the Included Platforms dropdown to include other game consoles, for example if you own both the PC and SNES version of a game
- Importing ROMs for retro consoles is covered in this article.
- Under the UI Integration tab, ensure that Enable UI Integration and Enable Theme Icons are checked
- Press save, and restart Playnite if prompted.
Now each game will be listed only once in your library. For example, I own Torchlight on Steam, GOG, and Epic Games. Intead of seeing the game in my library 3 times, it's only listed once with Steam as the default and you can click on the icons for the other stores to switch to that version.
